Fake tanning can be a bit intimidating. At least for me, it is. I’ve had some bad fake tanner experiences in the past (I’m talking Oompa Loompa and streak city) so I’ve shied away from them a bit for the past few years. Okay, maybe like 10 years actually. Can you relate? I decided to dive back in and start trying out some new fake tanners. They have changed over the years and there are some really good ones out there now. Today we’ll go over how to apply and answer some of those common questions like how to get rid of those fake tans dots on your legs and how to get a streak-free tan!
Fake Tan Tips and Trips|Step by Step
Here’s my self tan routine:
- Shower and Exfoliate
- Shave
- Moisturize
- Apply Self Tanner
- Let Self Tanner Dry
- Moisturize
Shower and Exfoliate.
This is key to getting a natural looking tan. You must prep the skin before applying self tanner. Exfoliating is crucial to getting a seamless fake tan. Especially concentrate on getting your knees, ankles and elbows nice and smooth. Those are the areas that your self tanner loves to sink into and ultimately will give you dark patches if you don’t exfoliate well.
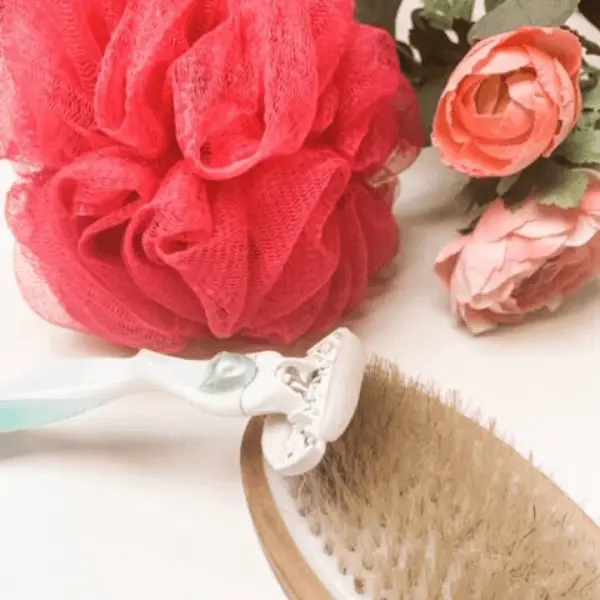
A loofah exfoliates, but for self tanning I like a stronger scrub.
Exfoliating is going to get all the dead skin off and give your legs a smooth canvas for the tanner to glide on to.
Shave.
In order to get the best tanning application it’s important that you shave your legs before applying your tanner.
It will help the tanner go on smoother and not get stuck in the hair. In addition, if you shave after you self tan then are taking off a layer of deadskin and making your tan fade quicker. You don’t want to have to reapply too soon! So you want to shave before tanning and not after.
Should you shave the same day as you tan?
Ideally no. Due to the fact that our skin is usually so sensitive after we shave not matter how careful we are. It’s best to shave the day before you tan. HOwever, depending on how sensitive your skin is you may be fine applying later at night.
If you want the closest shave possible I have the razor for you. I was shocked at how good it was and I have tried many over the years. Check out one of my top beauty recommendations.
Moisturize.
Your legs need to be well moisturized before applying your self tanner. I moisturize before I apply it. I let my moisturizer dry a little bit and then apply. Some say to moisturize in the morning and apply tanner later, but my skin is dry so this works best for me. This also helps my elbows and knees turn out better so that the tanner doesn’t get stuck in those spots. In a
Apply Self Tanner.
It’s best if you can use a mitt to apply your tanner. It helps the tanner go on smoothly in addition to protecting your palms from tanning!
I do not use a mitt when applying tanner to my face. I haven’t had any issues with staining my hands. Most likely because I can do my face very quickly and wash immediately.
Using strokes and circular motion, apply the self tanner on your shoulders, arms, chest , stomach and legs. I like to work from my legs up.
Using two different motions helps give you the most coverage and will prevent streaking.
Use a mirror if you can as it really helps to see where you are applying.
Take your time and make sure you are rubbing it on evenly. If you go to fast you are likely to miss a spot!
Then when you are done, use the remaining self tanner that is left on your mitt and blend onto your knees, elbows, hands and ankles/feet. This really helps ensure that you don’t get heavy dark spots in those tricky places that always give away your fake tan.
As for the neck, I use a face self tanner to blend into my neck. However, if you are not doing a face self tan, then do your chest and blend upwards lightly into the neck. Don’t start at the neck. Once again, you don’t want to go heavy there as it can look very splotchy and obvious.
Let Your Tanner Dry.
This may be obvious, but don’t shower right after you apply it. Let it dry for a while. This all depends on the tanner you use too. I know some take long to dry and will stain your sheets. The ones I use don’t do that.
Moisturize… Again.
If you want your tan to last and glow then you must moisturize! It is key to making that tan last longer and give you a bronzed and glowy look.
How To Get Rid Of Fake Tan Dots On Legs.
So you went through all the steps and now you have a bunch of fake tan dots on your legs! Yep, it happened to me.
How do you get rid of the fake tan dots?
If you apply self-tanner the same day you shave you risk the self tanner settling into your open pores. The fake tan dots on your legs can also appear if you showered and then immediately applied self-tanner. Your pores are definitely open at that time which makes your skin prime for letting that self-tanner sink in. Which causes those brown dots.
So if you want to get rid of fake tan dots on your legs, try to exfoliate, shave and shower in the morning and either apply the self-tanner at night or preferably the next day.
This is going to vary from person to person. I need to wait at least a whole day.
Now if you are in a rush a don’t have time to wait to apply your tanner try this:
- apply a cold washcloth to your legs to close up those pores before you apply your self tanner. Finishing off your shower with a quick splash of cold water helps too. You need to seal those pores so the tanner can’t seep in and leave those annoying brown dots!
My Current Favorite Self Tanners:
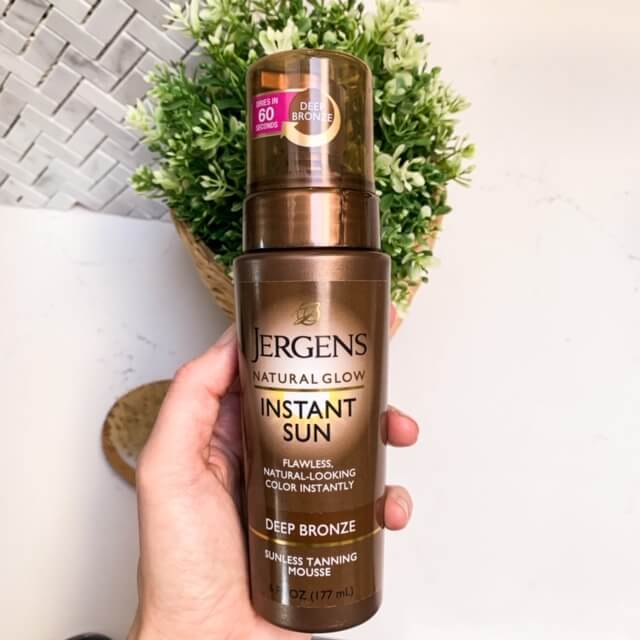
Jergens Natural Glow Instant Sun Mousse.
This mousse works really well and gives you a nice golden tan. What I like most is that it’s a light mousse that you can actually see where you are applying it.
It also dries immediately. And I mean immediately! This is good for when you just need quick color!! Here I applied it to one leg so you could see the difference.
The color is Deep Bronze.
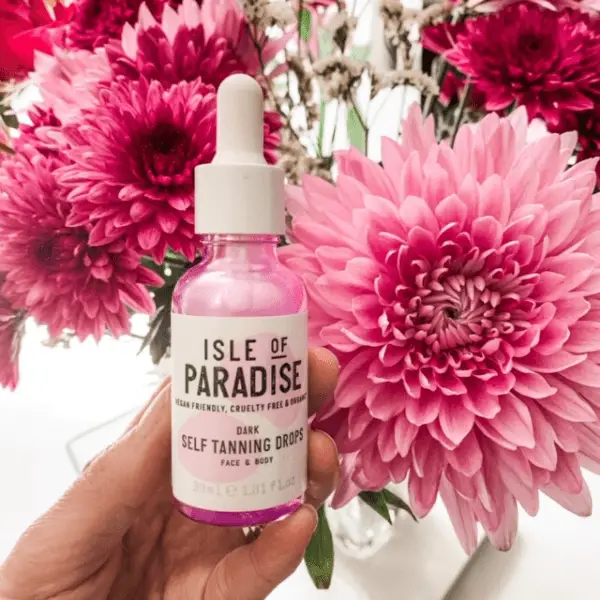
Isle of Paradise Tanning Drops.
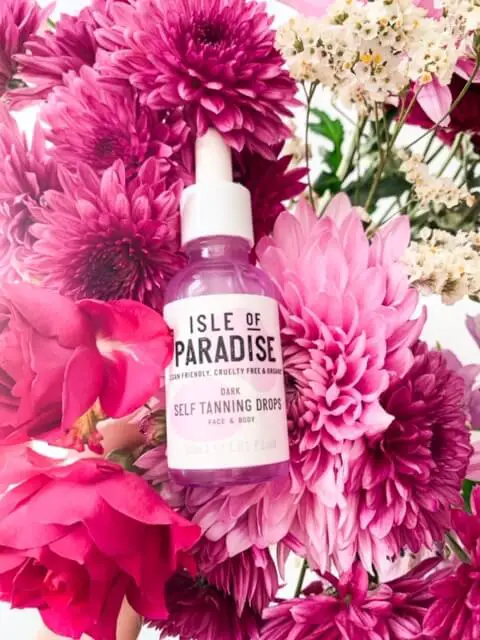
I bought this to use specifically for my face, but you can also use it for the body. The nice thing about these tanning drops is that you use them with your regular moisturizer.
For the face, I apply 2-3 drops, to my moisturizer and then apply as normal to my face. Then watch the color develop! It’s amazing and it’s so easy. The color turns out a pretty tan and not orange at all.

I’m not wearing foundation in this picture so you can see the color, but I did apply my COTZ Primer Sunscreen and Weleda moisturizer on my cheekbones for a natural highlight.
The color I chose is DARK.
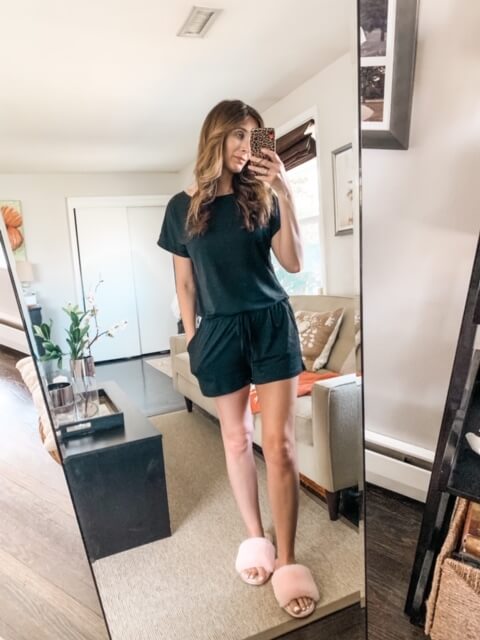
I also applied this to my body and it works just as well! I added 5 drops to my body lotion and then applied all over my leg. Here is the result below. I applied only to one leg.
As you can see, the results for each tanner are so similar! They both provide a great tan.
You can add up to 12 drops of the Isle of Paradise tanning drops to get the desired color you want. I started at 5 drops, but will add more just to experiment next time to make it a little darker.
This did not stain my clothes at all. I absolutely love this product!
If you are nervous about self tanner, the Isle of Paradise is a good product to try as you can use very little and then gradually build your tan as you feel more comfortable applying.
You can start with as little as one drop added to your moisturizer and go from there.

I hope these fake tan tips and tricks help you achieve an even and natural-looking tan.
XOXO,
NICOLE
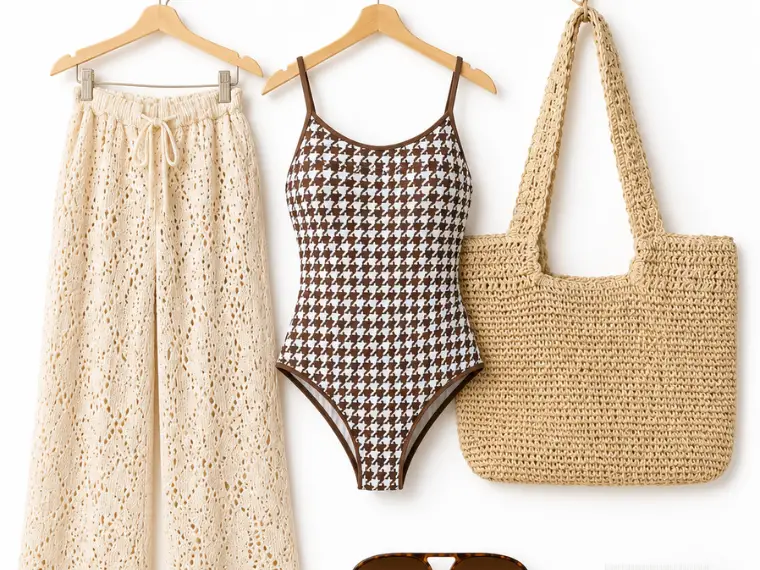
Cutest Gingham Swimsuit From Amazon
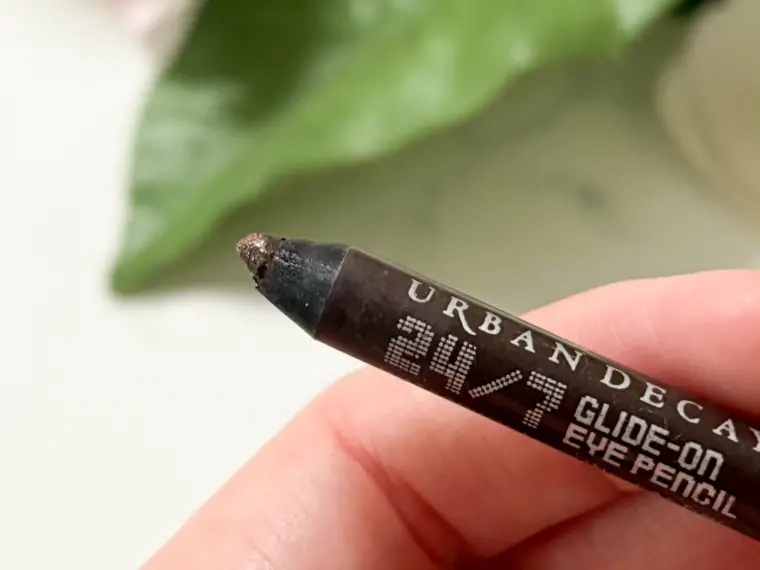
Best Eyeliner for Over 40 (I’m 49 and This One Actually Doesn’t Smudge)